How to Choose the Right Sink
From drains to basins, finding the best sink just got easier with this quick guide to the basics.

Available in a variety of colors and materials, there’s a kitchen sink to fit every lifestyle and decor. We’ve put together some tips for finding the perfect style, size, and configuration to match the best sink for your space.
Find the Best Sink Size First!

Checking the size of the sink is necessary for more than just finding out if the sink will fit. Keep in mind both the size of the countertop and the primary use for the sink. If you do a lot of cooking and need the space to wash larger pots and pans, a bigger sink with deeper basins will be helpful and may be worth the effort of an upgrade. However, a large sink in a small countertop space can result in problems both during installation and in general, from keeping a clean kitchen sink to maintenance.
Start with the size of the sink currently installed. It may help to remove the sink before taking measurements. Measure the size of the sink for both the width and length, from edge to edge, and the depth of the basin. Take note of the location of the plumbing under the sink, specifically the sink drain placement.
Another necessary measurement is the countertop depth, which is measured from the back edge to the front of the countertop. The sink width should fit securely and centered within the cabinet, including space for the overhang of the sink lip. Be aware of these details, because different sink styles take up extra area on the countertop, more than just the basin size.
For instance, most drop-in kitchen sinks have a ½-to-1 inch lip, so a backsplash built onto the back edge of a laminate countertop can interfere with the lip overhang of a drop-in kitchen sink. A farmhouse kitchen sink requires a customized cabinet to accommodate the apron front panel, which will also change the sink’s placement along the countertop. It’s important to make sure there is space for the sink and a few inches extra.
Additional tips on how to choose the right sink size include:
- Position the sink closer to the front edge of the counter for comfort and access.
- Basin depth and drain location can influence the amount of space available under the sink for things like garbage disposals, water systems, and waste bins.
- Make sure you have enough counter space on either side of the sink for food preparation, especially in a corner location.
When considering how to replace a sink, the new sink will need to fit into the existing cabinetry and match the plumbing placement. If you choose a different drain placement with the new sink, the plumbing will need adjusted to accommodate it and that may require the help of a plumber. It’s always possible to choose a sink with different dimensions than the cabinet or countertop currently allow for, just plan ahead to adjust the counter cabinet and plumbing as needed.
PLEASE NOTE: For laminate, formica, and wood countertops it is recommended to install a drop-in/top-mount sink because these materials, when cut, leave behind an unfinished porous area for water to damage if not sealed properly. Though it is still possible to install undermount and apron style sinks with these materials, it’s not recommended and may incur additional changes or modifications to ensure it will remain an everlasting top if you so decide to use these style sinks with these countertops in mind.
Choose the Right Sink Installation Type:

The first consideration when looking for a new sink should be the look or style, which is easier to think of in terms of the installation type. It narrows the field of choices and makes the process less overwhelming.
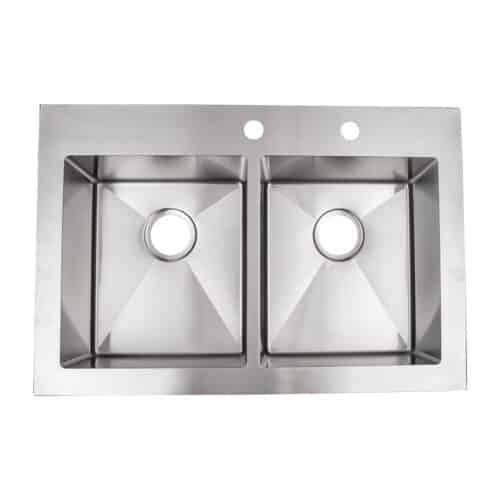
Top-Mount / Drop-In Sinks

Drop-in / Top-Mount (or above-counter / self-rimming sinks) are set into a hole cut into the countertop and are the easiest to install. Drop-in sinks sit on top of the counter cabinet and have a raised, rounded edge to help keep water and debris inside the sink. When replacing a sink without getting new countertops, a drop-in sink is usually the 1st and easiest option to install as well.
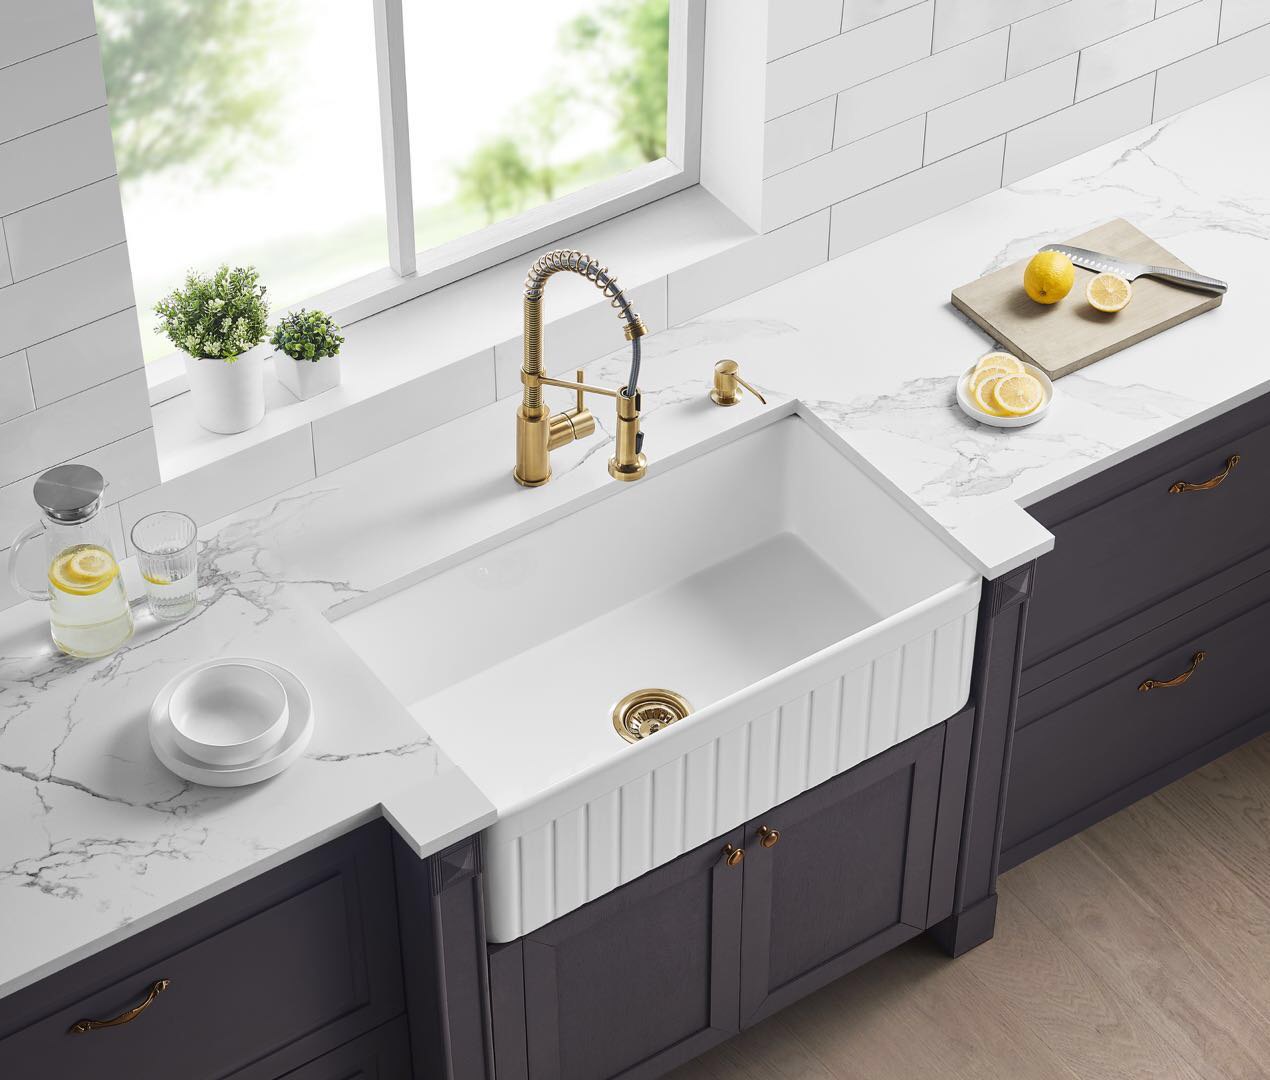
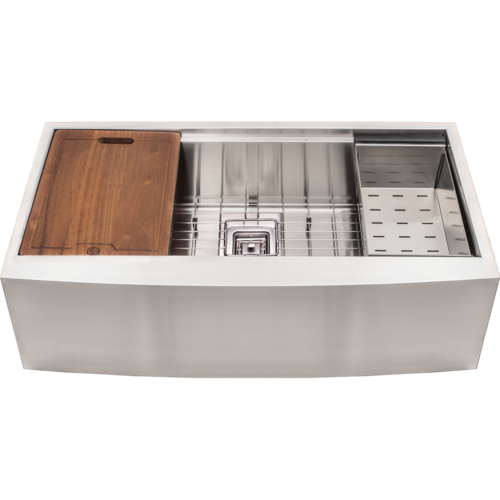
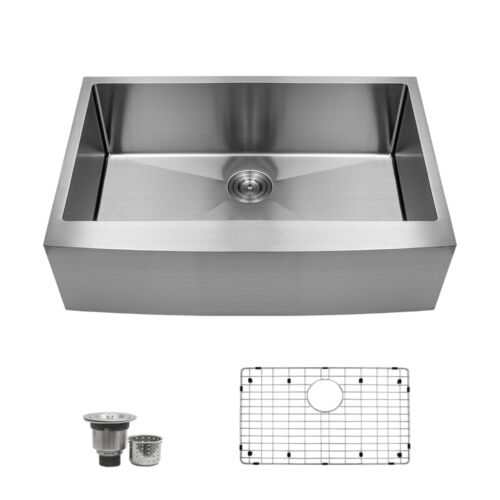
Farmhouse / Apron Sinks

Also known as apron-front sinks, the deep, wide, basins of the farmhouse sink are perfect for washing large pots and pans. The front of the sink replaces the front edge of the countertop cabinetry, creating a decorative panel out of the sink design itself. Adding a touch of chic country charm, farmhouse sinks are available in a variety of sizes and materials. Some models are available in stainless steel for a more contemporary look. The sinks offer an easier access to the basin from the front because you wont have the standard 3-4″ countertop before the basin. You can install this style sink flush with the cabinetry edge or have it hanging over the front which is most widely used as the preferred method to install a farmhouse sink.
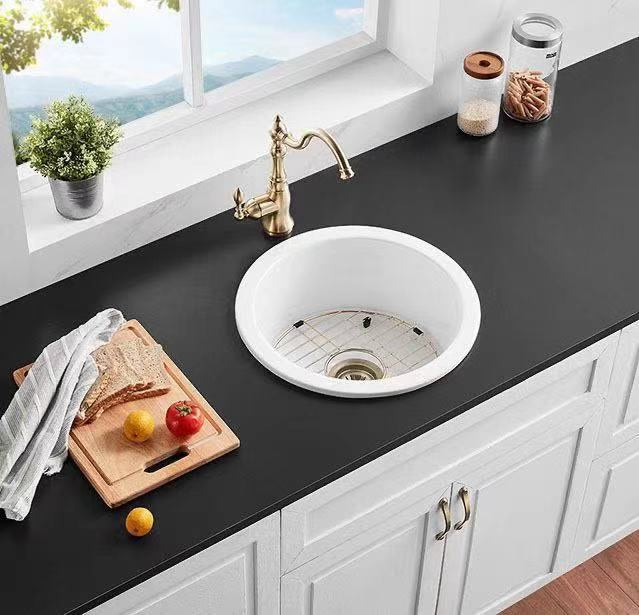
Flush Mount Drop-in Sink

These are drop-in / top-mount sinks that are installed slightly inset, into the counter, to be level with the countertop surface. Rather than a rounded lip, they have a straight edge and flat top to allow it to be installed flush against the counter edge. These are a common style for kitchenette sinks as well because they blend into the countertop design. This sink installation type is the least used due to its complexity and no room for error when doing installing. If done correctly, you get the best of both worlds by having a sink that shows its rim while not being raised onto the countertop. It’s a perfect way to show flare and focus of your kitchen sink while still being neatly presented.
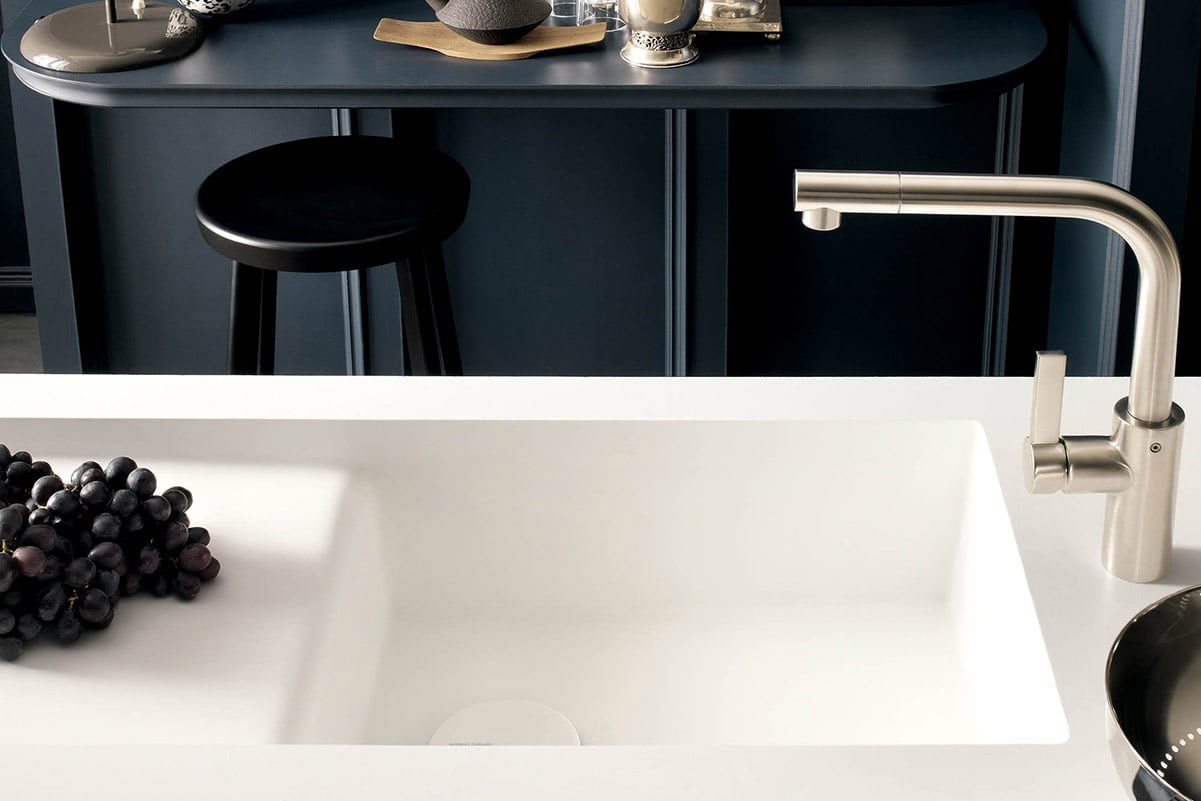
Integrated Sinks
Integrated sinks are shaped into the countertop, creating a continuous look to the design of the kitchen. The sink is molded from the same material as the solid countertop, creating a divot or pocket for the sink, and disappears into the style of the rest of the counter. This is a very nice installation type but typically means it may be extremely hard to replace later if desired or needed. And integrated sinks are usually fabricated with Corian material as opposed to granite, quartz, marble, etc which hold higher resale values and are easier to replace if needed.
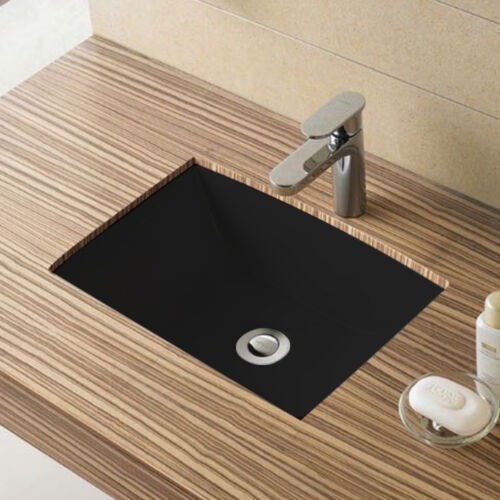
Undermount Sinks

Undermount sinks are attached below the countertop and create a flat surface, making work-area cleanup easy. The sink wall should be installed to line up against the finished edge of the countertop to provide a seamless drop from the counter into the sink. There are three different ways to install an undermount sink.
- Negative Reveal: This style reveal means that the countertop material will overhang into the sink when installed. For example, a sink with inside dimensions of 16″ x 16″ would likely have a cutout of 15.5″ x 15.5″ leaving 1/4″ overhang into the sink from all sides. This is the most desired and sought after reveal type because it help keep an easy to maintain sink along the sealed edge. It’s important to keep the little bit of countertop material hanging over into the sink clean because over time it may develop some mold due to moisture from water in the the sink rising up onto the countertop material.
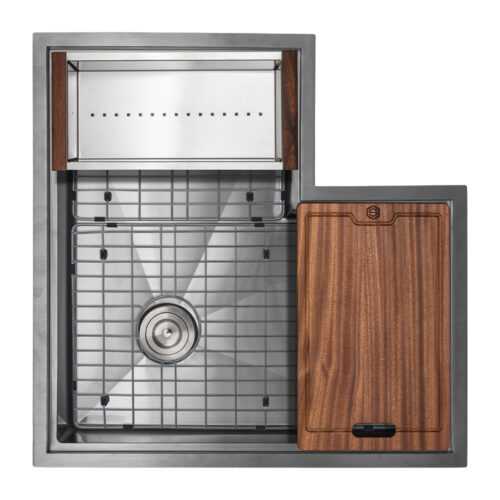
- Zero Reveal: This style reveal means that the countertop material will NOT overhang into the sink when installed. For example, a sink with inside dimensions of 16″ x 16″ would likely have a cutout of 16″ x 16″ leaving NO overhang into the sink from all sides. The sink walls will be flush to the countertop edge. This is the 2nd the most desired and sought after reveal type because it help keep an easy to maintain sink along the sealed edge. It’s also the recommended sink cut-out whenever you install a sink that has a workstation shelf. Why? Because a workstation sink installed with a negative reveal may not allow for accessories to fit accordingly.
- Positive Reveal: This style reveal is the exact opposite of a negative reveal. Instead of the material overhanging into the sink, you would alternatively see the sinks rims or flange when installed. For example, a sink with inside dimensions of 16″ x 16″ would likely have a cutout of 16.5″ x 16.5″ leaving 1/4″ sink flange exposed from all sides. This style reveal is widely used when desired. Some clients do this style reveal to make accessories work with their sink, so instead of purchasing a workstation sink, they make their own ledge to account for the accessories. Some professional even argue that this reveal type is the most hygienic and easy to maintain because there is not positiblity for moisture buildup and cleaning around the rim is a breeze. Professionals may argue that it’s a great reveal type but, most homeowners don’t desired this look because the other two reveals are used in most kitchen and bath publications.
Bar & Laundry Sinks

Another unique type of sink is the bar, prep, or laundry sink. These can be drop-in, undermount, or farmhouse kitchen sink installation styles, but they stand out as their own installation type because of their differences in purpose.
The bar/prep/laundry sink is often used complementary to the kitchen sink, for drinks and entertaining, rather than for the regular wear and tear of a sink full of dirty dishes needing soaked and washed. The prep sink is smaller, usually running narrower and shallower than the kitchen sink, and will usually be found on the kitchen island or a prep area like a wet bar or as a kitchenette sink.
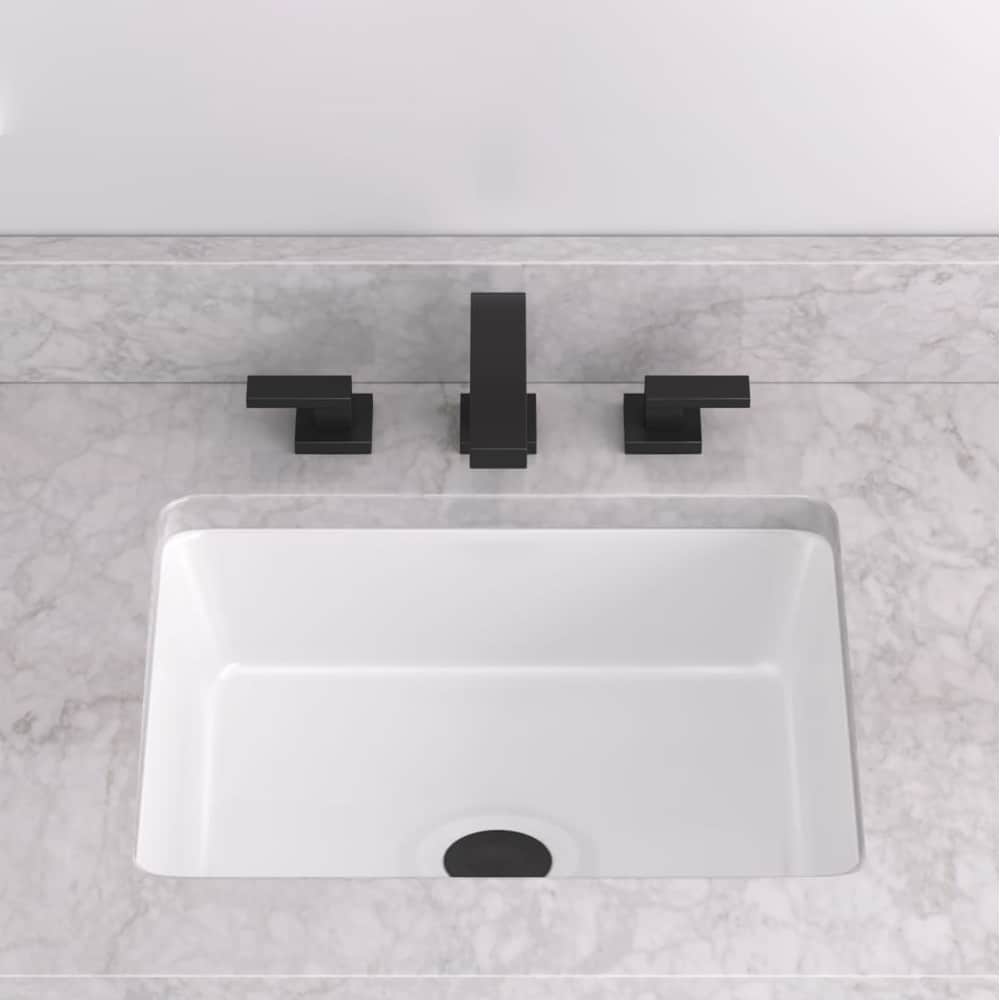
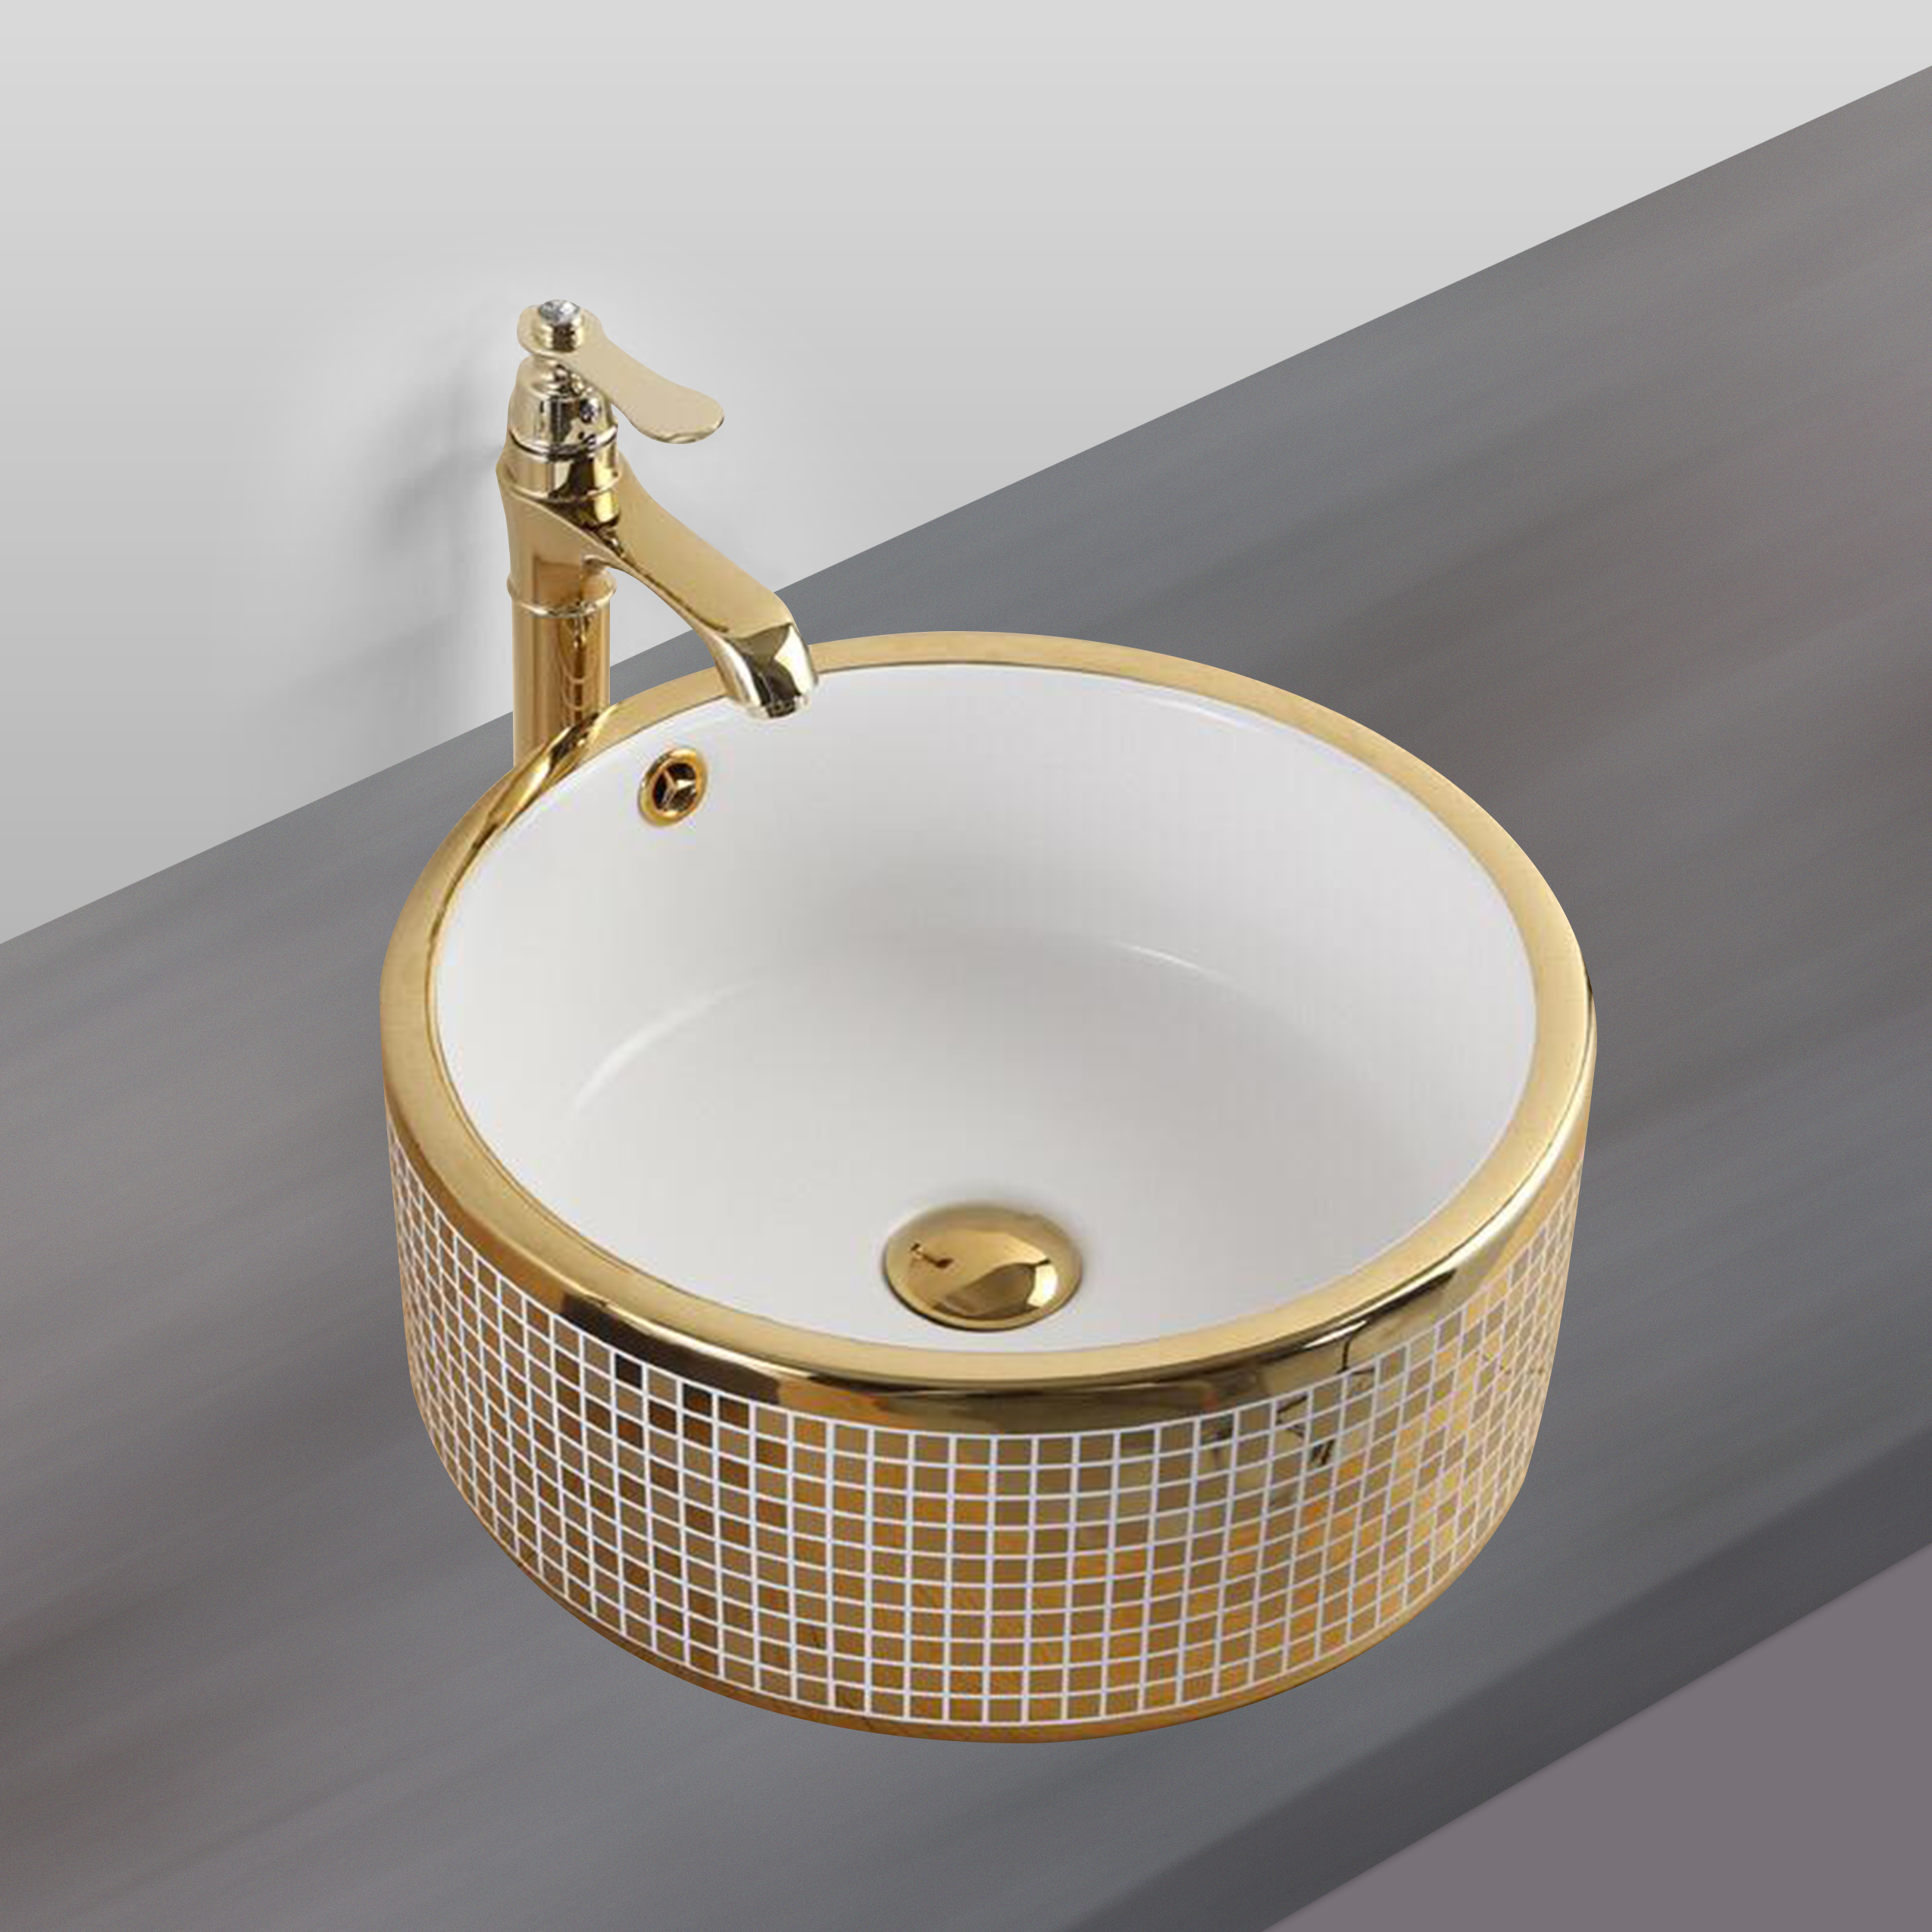
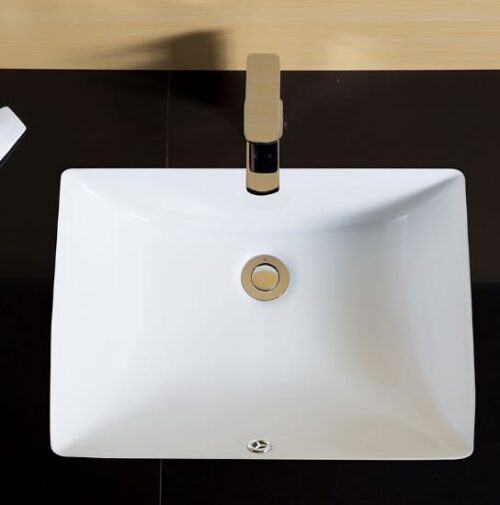
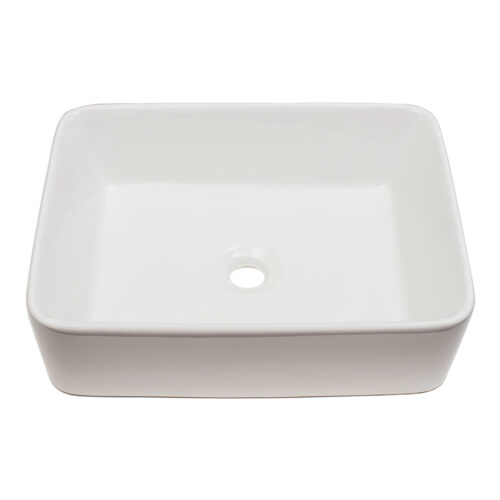
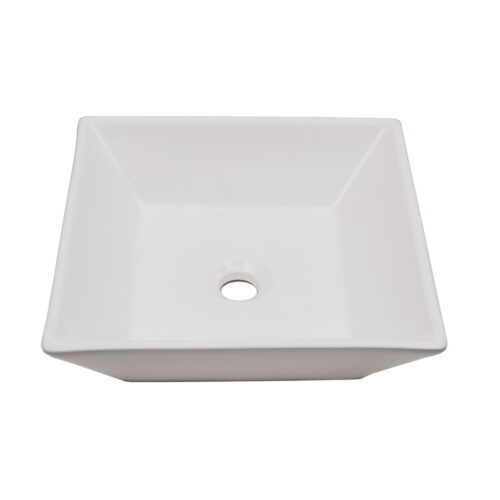
Bathroom Sinks
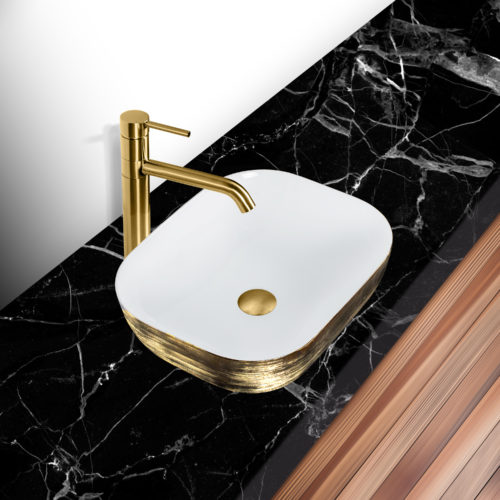
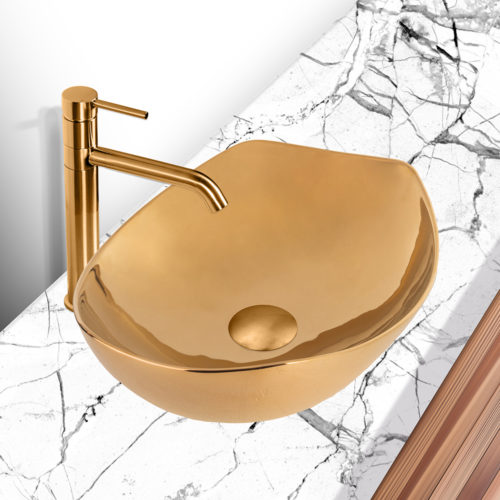
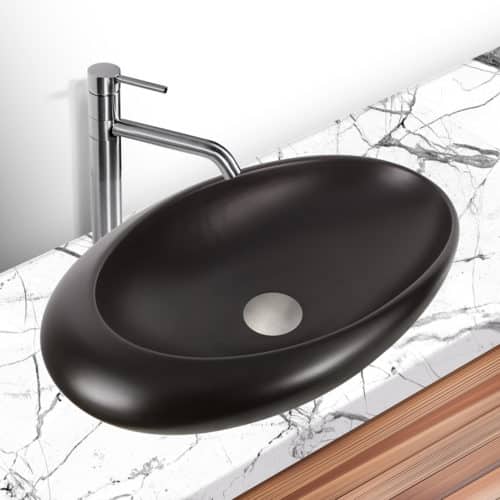
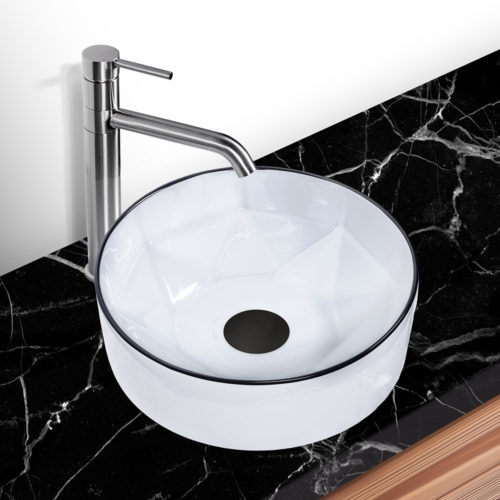
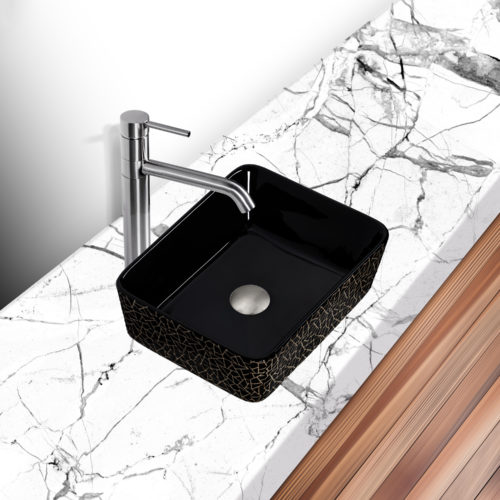
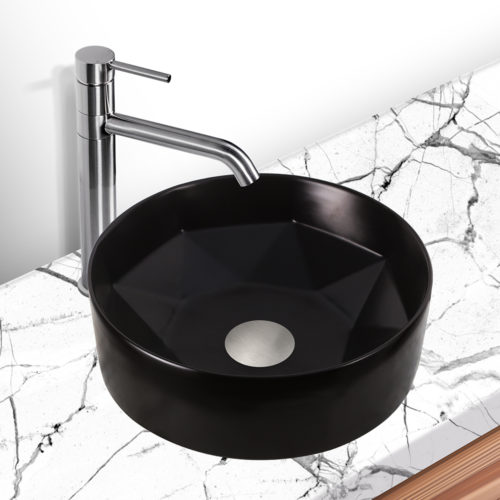
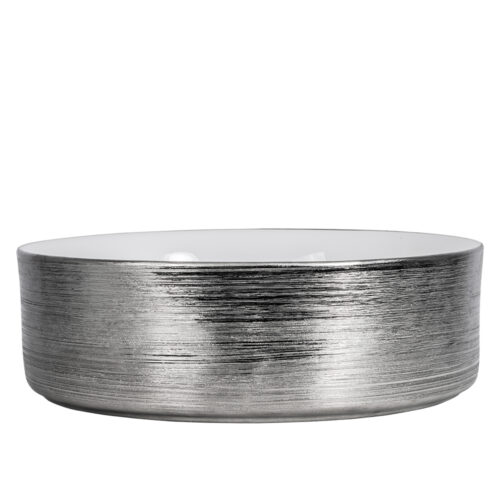
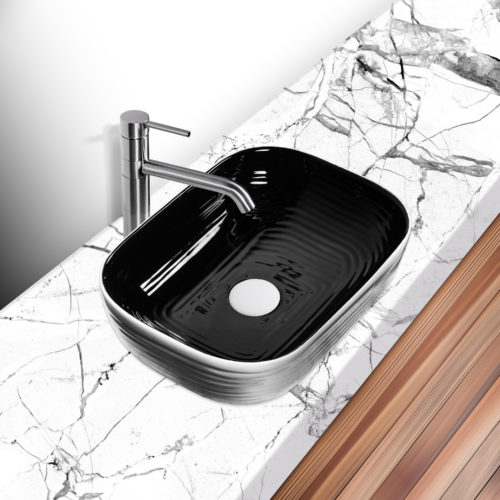
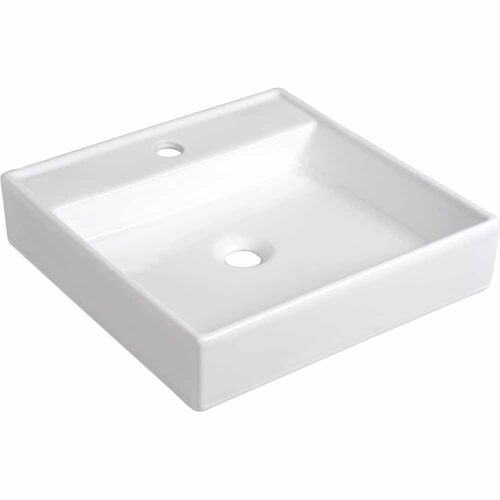
Another unique type of sink is the bathroom sink. These can be drop-in, undermount, or vessel installation styles. Vessel style sinks sit on top of the countertop and likely need a taller vessel faucet to work in conjunction with.
Sink Material Options:
The right material determines the durability and the look of your sink. The material of the sink becomes especially important when it comes time to clean a sink, as you want a finish that can stand up to the scrubbing and the potentially abrasive chemicals used in keeping the sink clean. Consider both the aesthetics and maintenance requirements when choosing the material your sink is constructed of.
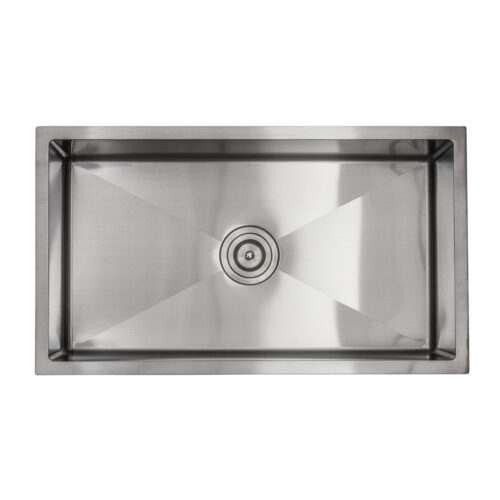
Stainless Steel

A stainless steel sink provides a modern look and is one of the most popular styles. Stainless steel requires regular cleaning to eliminate water spots, but it is a durable, scratch-resistant material that stands up to the test of time. Look for a lower gauge stainless steel for a higher strength sink with better dent- and scratch resistance and sound-absorption. For example: 18 gauge and 16 gauge sinks are most commonly used by commercial client and homeowners while 20 and 22 gauge sinks may be used in quick resells or flips because they are much less expensive and also less durable. 16 gauge is the standard for almost all sinks currently. The difference between 16 and 18 gauge is very nominal while the difference from 18 and 16 to 20 and 22 is way more extreme.
Colored Stainless Steel
A colored stainless steel sink provides a modern look and is one of the most new and popular styles. Colored stainless steel requires less cleaning to eliminate water spots, is extremely durable, and is a scratch-resistant material that stands up to the test of time. Most stainless steel finishes in color are done through a process called anodizing and physical vapor deposition. Anodizing changes the color and the PVD coating ensures it will remain that color and live up to everyday use. One thing to be proactive about is the actual sensitivity of the sinks finish. Like Samsung and LG appliances in black stainless steel, it’s important to know what and what not to do when cleaning and caring for these colored stainless steel variants. Colored stainless steel should be cleaned with soap, water and a soft sponge almost always and doesn’t require much else to clean. Overcleaning/scrubbing or using harsh unrecommended cleaners may damage or cause harm to the sink finish.
Copper

Copper sinks have natural anti-microbial qualities that help reduce the spread of germs and grime in your sink. It is a 100% recyclable material and develops a copper patina that changes over time for a unique look. This living finish requires more care and attention than many materials to keep it looking clean and prevent damage from wear and tear. You can coat your copper sink in a wax layer to prolong the finish from experiencing the patina effect. Like the Statue of Liberty, which was originally Copper, it is now seen as a greenish color due to the oxidization of the material when exposed to water frequently without wax.
Quartz Composite

A quartz composite sink provides a nonporous surface that is easy to keep clean. The durable stone composite resists scratches, chipping, and discoloration, making it a quality alternative to granite. Quartz composite sinks are very hygienic and are colored all the way through. A simple scratch on this material is not even noticeable because under the scratch remains the same material and color and can be buffed or rubbed away. Though this material is very durable, it’s not malleable like stainless steel.
Cast Iron

The classic look of cast iron is also available for your sink. They can be found in multiple colors, with a glossy finish that makes clean up easy. Cast iron sinks withstand high heat and are quite durable, however the enamel may scratch over time and dropping sharp objects can cause chipping.
Fireclay & Porcelain
Fireclay and porcelain is a non-porous and glossy material that resists scratches, stains, and chips. It is fired at very high temperatures for extra durability. With the firing and finish process, fireclay is also available in different colors that do not fade.
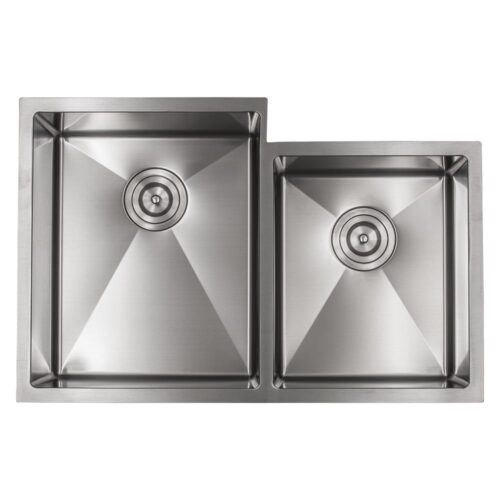
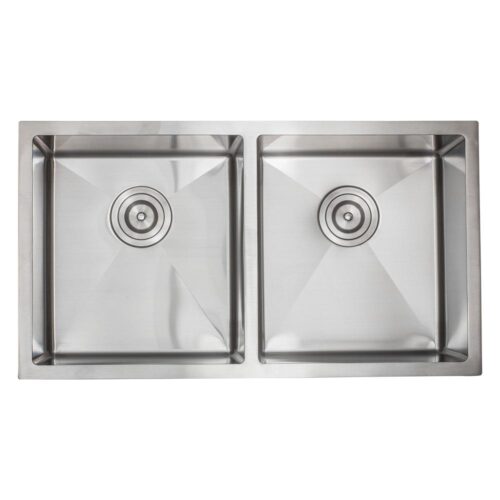
Number of Basins

Sinks are available in single, double and triple basin sink configurations. As you look over the options, you’ll find measurements for the basin split, which refers to the percentage of space each basin takes up for a double bowl sink. The most common options are 50/50, where the sink bowls are the same size, and 60/40, where one basin is larger for larger pots and pans. Another common sink configuration is to install the garbage disposal in the smaller basin of a double basin sink, to use the smaller side as a prep sink.
Some split basins have different depths between the sides of the sink, while other features may include interior racks to help keep the drain clear of dishware. There are also multiple kitchen accessories available to customize your sink.
Here are a few advantages of each to help you choose which basin configuration is right for the way you work.
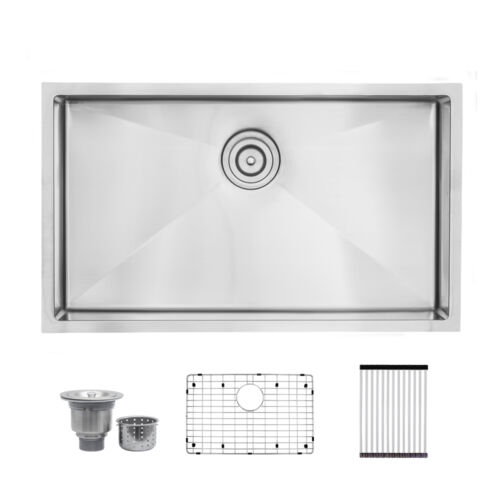
Single Basin Sink
- Wide-open soaking area.
- Great for large pots and pans.
- Typically offers a much deeper basin than double or triple sinks.
- The drains may be placed off to one side, with the sink floor sloped to one side to help move liquids more quickly and keep the sink cleaner.
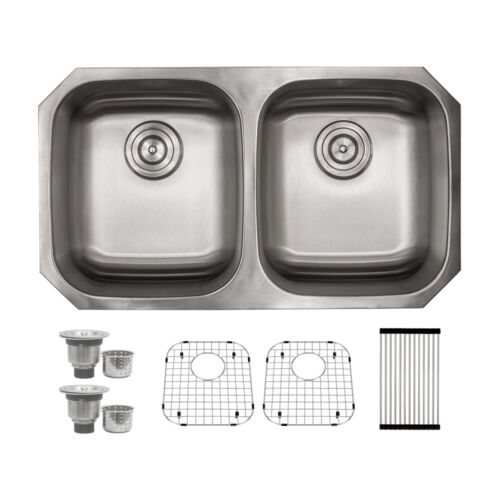
Double Basin Sink
- Double basin sinks are great for working on separate tasks, such as washing and rinsing.
- You can choose between equal sized basins or one small and one large basin.
- Basins may be different widths and lengths to create different shapes or angled to fit in countertop corners.
- Consider one basin that is larger than the other to hold pots and pans.
Triple Basin Sinks
- Triple basin sinks are typically wider than standard sized sinks and take up a larger amount of countertop space.
- Choose different arrangements based on the look of your kitchen, such as placing two large basins with one small basin, three equal sized basins, or three basins of different sizes.
- The third basin is often smaller and used as a kitchen prep sink.
Drain Placement

Consider the location of existing plumbing and the type of work you do in the kitchen when choosing the drain placement of your new sink. Here are a few advantages (and disadvantages) to the different drain placement options.
Off-center drain
Pro: Off-center drains allow for more space under the cabinet for taller supplies or filtration systems.
Pro: The sink has plenty of space to set big pots and pans while allowing water to drain freely.
Pro: There’s extra room to prepare food without having it slip down the drain.
Con: These can be difficult for repairs because the plumbing is pushed to the far back or corners of the under-sink cabinet.
Centered drain
Pro: The water drains faster than an off centered drain because there is less distance to travel.
Pro: Better access for maintenance or repairs under the sink.
Pro: Aligns with a centered faucet.
Con: Large pots and pans may block the water flow to the drain.
Rear drain
Pro: Rear drains allow for plenty of room to include an under-the-sink garbage disposal or even pullout shelves for trash and recycling cans.
Pro: Dishes and pans in the sink won’t block the water flow.
Pro: More space at the bottom of the basin for food prep or dishes when cleaning, without losing things down the drain.
Con: These installations can be tricky, and with the plumbing at the back of the cabinet, they are more taxing for maintenance.
Number of Faucet Holes

The number of holes built into the sink will narrow your kitchen sink faucet style choices. Look for a sink that can accommodate the type of kitchen faucet you prefer, whether a single hole faucet or a bridge faucet. Some sinks can have additional faucet holes added in if necessary. Extra openings can be covered by escutcheon plates, special hole covers, or filled with accessories like built-in soap dispensers.
PLEASE NOTE: Undermount and Apron/Farmhouse sinks hardly ever have pre-drilled holes included. The number of holes you’ll need drilled will be accounted for with your stone fabricator before or during installation day. Most clients prefer a single hole faucet to keep things simple while others may opt for multiple holes.
Single Hole Sink
These sinks accommodate a single kitchen faucet. They encourage a streamlined, simple, compact design.
Two Hole Sink
A two hole sink can fit a bridge faucet with hot and cold inlets, or a single faucet and an accessory, such as a spray wand or a soap dispenser.
Three Hole Sink
With a three hole sink, there is room for either a bridge faucet and a sink accessory, or for a single-hole faucet and two accessories, like a soap dispenser alongside a filtered hot water dispenser.
Four Hole Sink
Four hole sinks can accommodate any combination, from two hole bridge faucets to spray wands, soap dispensers, or filtered water dispensers. Just make sure to use an escutcheon (Faucet Hole Cover) to cover over any holes that aren’t utilized.
-
 32-3/8" x 18-1/2" x 9" Stainless Steel Undermount Double Bowl Kitchen Sink with Off-Center Drains - (D5050)
From $149.99
32-3/8" x 18-1/2" x 9" Stainless Steel Undermount Double Bowl Kitchen Sink with Off-Center Drains - (D5050)
From $149.99
-
 30” Stainless Steel Workstation Corner Kitchen Sink Single Bowl 16 Gauge Sink 1/2" Radius - (RCOR3030WS-SS)
$799.99
30” Stainless Steel Workstation Corner Kitchen Sink Single Bowl 16 Gauge Sink 1/2" Radius - (RCOR3030WS-SS)
$799.99
-
 Rectangular Gold Porcelain Luxury Vessel Sink - (LV1600G)
$189.99
Rectangular Gold Porcelain Luxury Vessel Sink - (LV1600G)
$189.99
-
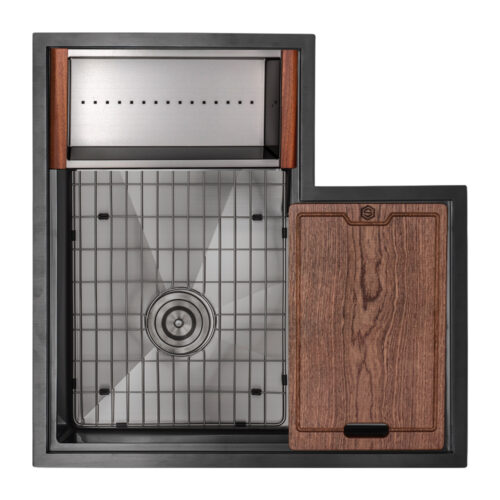 30” Black Stainless Steel Workstation Corner Kitchen Sink Single Bowl 16 Gauge Sink 1/2" Radius - (RCOR3030WS-BLK)
$999.99
30” Black Stainless Steel Workstation Corner Kitchen Sink Single Bowl 16 Gauge Sink 1/2" Radius - (RCOR3030WS-BLK)
$999.99
-
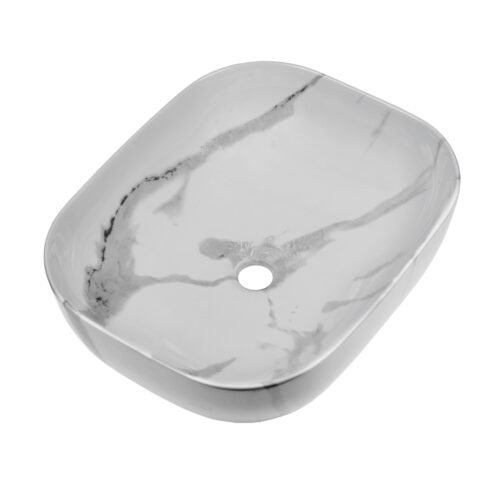
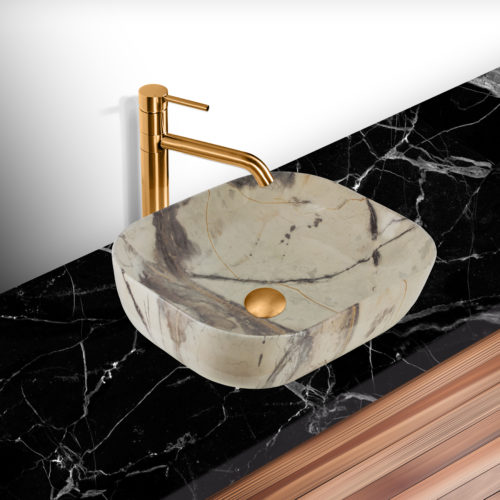 Calacatta Marble Design Porcelain Luxury Vessel Sink - (LV1800)
$189.99
Calacatta Marble Design Porcelain Luxury Vessel Sink - (LV1800)
$189.99
-
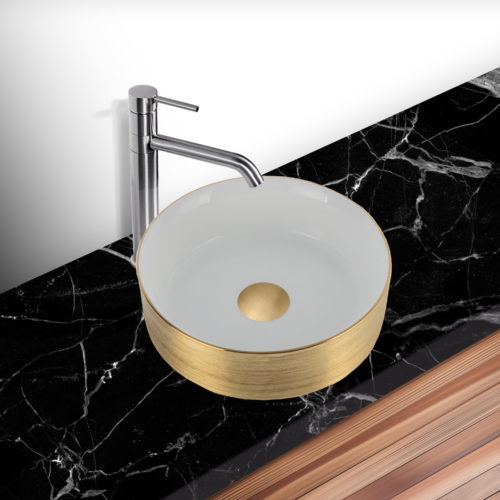 Round Gold Porcelain Luxury Vessel Sink - (LV1500)
$189.99
Round Gold Porcelain Luxury Vessel Sink - (LV1500)
$189.99
-
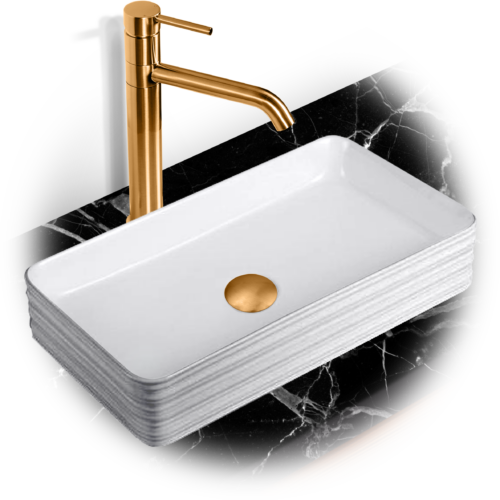
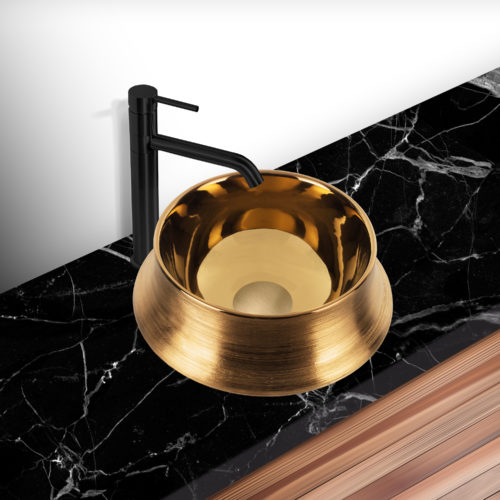 Gold Glossy Porcelain Luxury Vessel Sink - (LV1200)
$189.99
Gold Glossy Porcelain Luxury Vessel Sink - (LV1200)
$189.99
-
 Gold Glossy Porcelain Luxury Vessel Sink - (LV1000)
$189.99
Gold Glossy Porcelain Luxury Vessel Sink - (LV1000)
$189.99
-
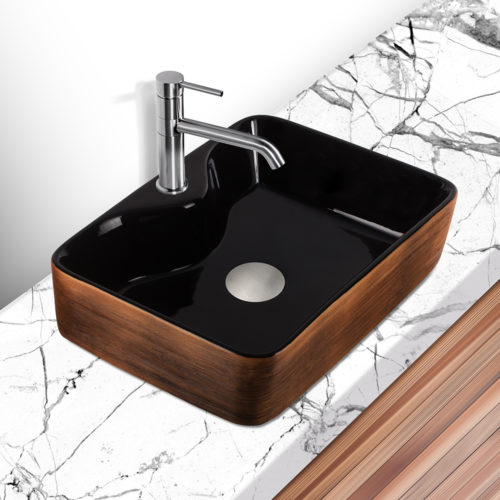
 Rectangular Porcelain Luxury Vessel Sink - (LV1300)
$189.99
Rectangular Porcelain Luxury Vessel Sink - (LV1300)
$189.99
-
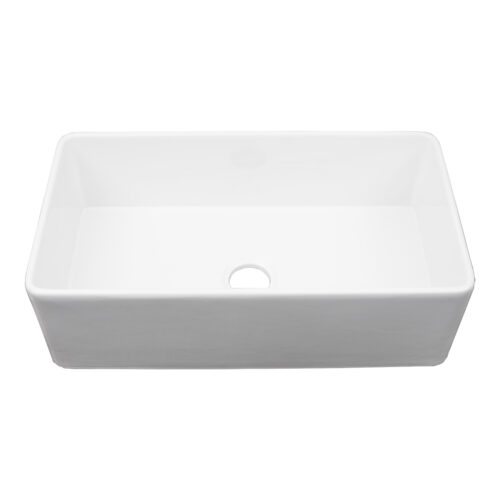 30” White Single Bowl Fireclay Farmhouse Apron Sink with Center Drain - (FA3018-W)
Original price was: $849.99.$300.00Current price is: $300.00.
30” White Single Bowl Fireclay Farmhouse Apron Sink with Center Drain - (FA3018-W)
Original price was: $849.99.$300.00Current price is: $300.00.
-
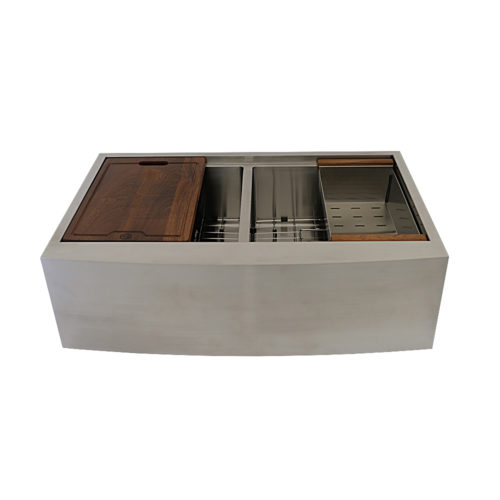 36” Stainless Steel Workstation Double Bowl Apron Kitchen Sink - (SA36215050WS-SS)
$599.99
36” Stainless Steel Workstation Double Bowl Apron Kitchen Sink - (SA36215050WS-SS)
$599.99
-
 Rectangular Porcelain Luxury Vessel Sink - (LV1600S)
$189.99
Rectangular Porcelain Luxury Vessel Sink - (LV1600S)
$189.99
-
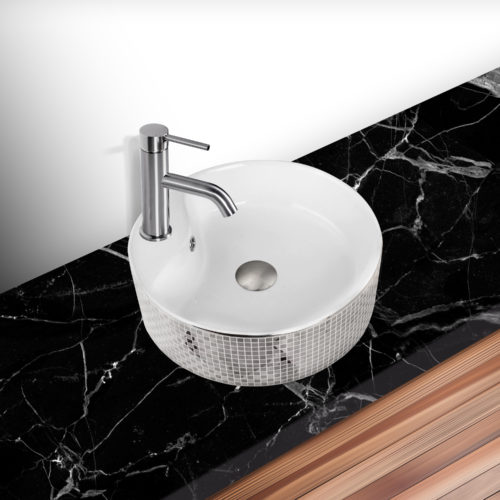
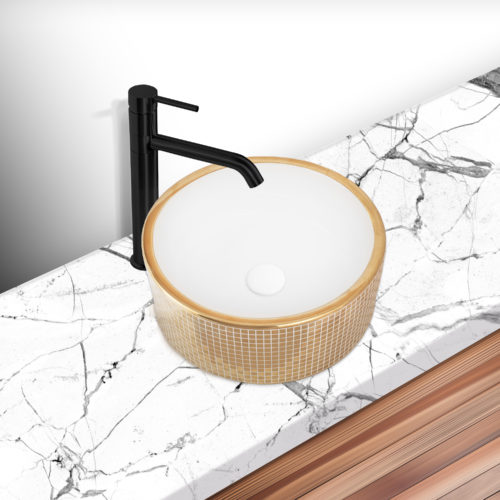 Round Gold Mosaic Porcelain Luxury Vessel Sink with Gold Overflow - (LV900)
$189.99
Round Gold Mosaic Porcelain Luxury Vessel Sink with Gold Overflow - (LV900)
$189.99
-
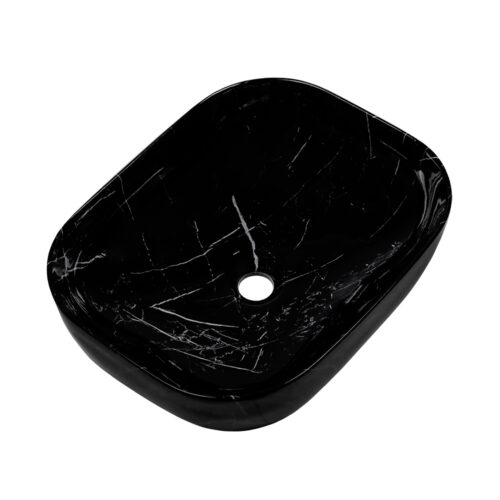 Nero Marquina Black Marble Design Porcelain Luxury Vessel Sink - (LV1700)
$189.99
Nero Marquina Black Marble Design Porcelain Luxury Vessel Sink - (LV1700)
$189.99
-
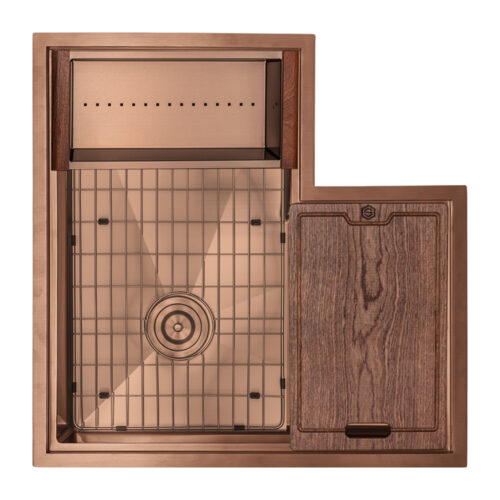 30” Copper Stainless Steel Workstation Corner Kitchen Sink Single Bowl 16 Gauge Sink 1/2" Radius - (RCOR3030WS-C)
$999.99
30” Copper Stainless Steel Workstation Corner Kitchen Sink Single Bowl 16 Gauge Sink 1/2" Radius - (RCOR3030WS-C)
$999.99
-
 Calacatta White Marble Design Porcelain Luxury Vessel Sink - (LV1900)
$189.99
Calacatta White Marble Design Porcelain Luxury Vessel Sink - (LV1900)
$189.99
-
 Rectangular Gold Porcelain Luxury Vessel Sink - (LV1400)
$189.99
Rectangular Gold Porcelain Luxury Vessel Sink - (LV1400)
$189.99
-
 Rectangular Porcelain Luxury Vessel Sink - (LV800)
$189.99
Rectangular Porcelain Luxury Vessel Sink - (LV800)
$189.99
-
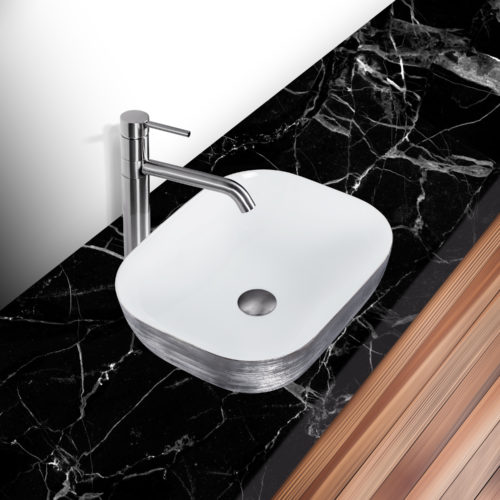
 Round Silver Mosaic Porcelain Luxury Vessel Sink with Faucet Mount - (LV500)
$189.99
Round Silver Mosaic Porcelain Luxury Vessel Sink with Faucet Mount - (LV500)
$189.99
-
 Round Porcelain Luxury Vessel Sink - (LV200)
$189.99
Round Porcelain Luxury Vessel Sink - (LV200)
$189.99
-
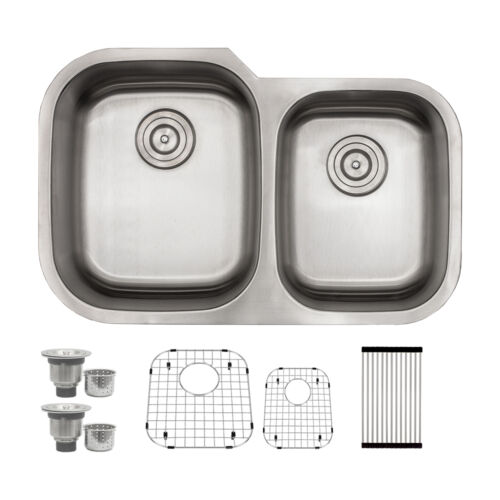 31-1/2" x 20-1/2" x 9" Stainless Steel Undermount 60/40 Double Bowl Kitchen Sink with Off-Center Drains- (D6040)
From $149.99
31-1/2" x 20-1/2" x 9" Stainless Steel Undermount 60/40 Double Bowl Kitchen Sink with Off-Center Drains- (D6040)
From $149.99
-
 32-5/16″ x 18-1/2″ x 9″ Stainless Steel Undermount Low-Divide Double Bowl Kitchen Sink – (D5050LD)
From $170.00
32-5/16″ x 18-1/2″ x 9″ Stainless Steel Undermount Low-Divide Double Bowl Kitchen Sink – (D5050LD)
From $170.00
-
 Glossy Black Shattered Design Porcelain Luxury Vessel Sink - (LV600)
$189.99
Glossy Black Shattered Design Porcelain Luxury Vessel Sink - (LV600)
$189.99
-
 Round Porcelain Luxury Vessel Sink - (LV100)
$189.99
Round Porcelain Luxury Vessel Sink - (LV100)
$189.99
-
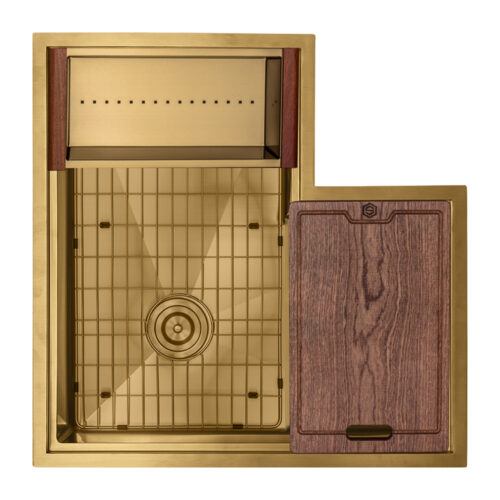 30” Gold Stainless Steel Workstation Corner Kitchen Sink Single Bowl 16 Gauge Sink 1/2" Radius - (RCOR3030WS-G)
$999.99
30” Gold Stainless Steel Workstation Corner Kitchen Sink Single Bowl 16 Gauge Sink 1/2" Radius - (RCOR3030WS-G)
$999.99
-
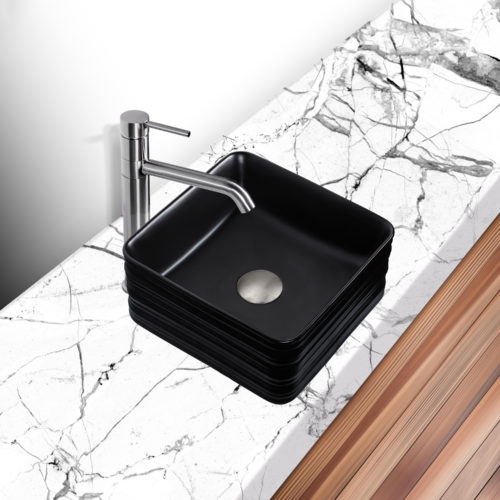 Matte Black Luxury Vessel Sink - (LV400)
$189.99
Matte Black Luxury Vessel Sink - (LV400)
$189.99
-
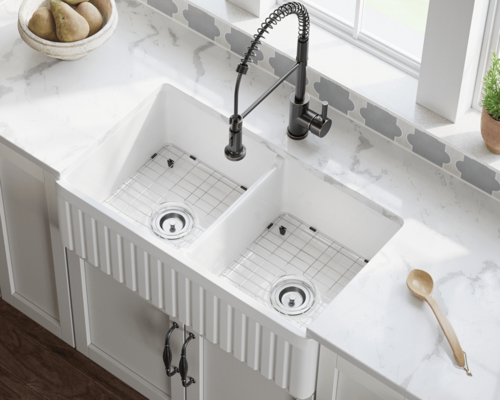 33” White Double Equal Bowl Fireclay Farmhouse Apron Sink (416)
Original price was: $648.00.$399.99Current price is: $399.99.
33” White Double Equal Bowl Fireclay Farmhouse Apron Sink (416)
Original price was: $648.00.$399.99Current price is: $399.99.
-
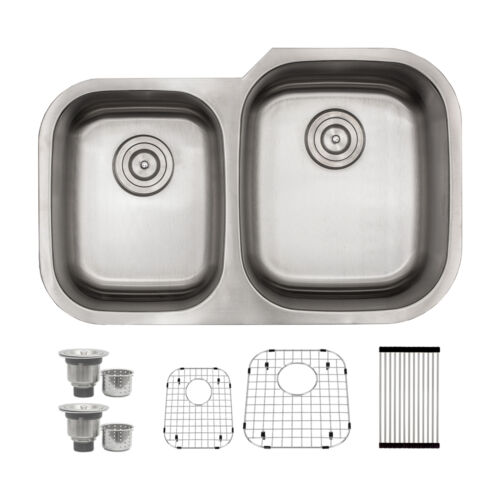 31-1/2" x 20-1/2" x 9" Stainless Steel Undermount 40/60 Double Bowl Kitchen Sink with Off-Center Drains- (D4060)
From $149.99
31-1/2" x 20-1/2" x 9" Stainless Steel Undermount 40/60 Double Bowl Kitchen Sink with Off-Center Drains- (D4060)
From $149.99
-
 Round Silver Porcelain Luxury Vessel Sink - (LV1500S)
$189.99
Round Silver Porcelain Luxury Vessel Sink - (LV1500S)
$189.99
-
 Rectangular Porcelain Luxury Vessel Sink - (LV300)
$189.99
Rectangular Porcelain Luxury Vessel Sink - (LV300)
$189.99
Products
-
32-3/8" x 18-1/2" x 9" Stainless Steel Undermount Double Bowl Kitchen Sink with Off-Center Drains - (D5050)
From $149.99
-
 32-3/8" x 18-1/2" x 9" Stainless Steel Undermount Single Bowl Kitchen Sink with Off-Center Drain – (D100)
From $149.99
32-3/8" x 18-1/2" x 9" Stainless Steel Undermount Single Bowl Kitchen Sink with Off-Center Drain – (D100)
From $149.99
-
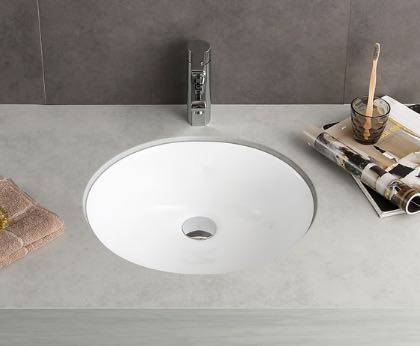 16.5" x 13.5" Undermount Oval Bathroom Sink with Overflow - (UO1512)
From $49.99
16.5" x 13.5" Undermount Oval Bathroom Sink with Overflow - (UO1512)
From $49.99
-
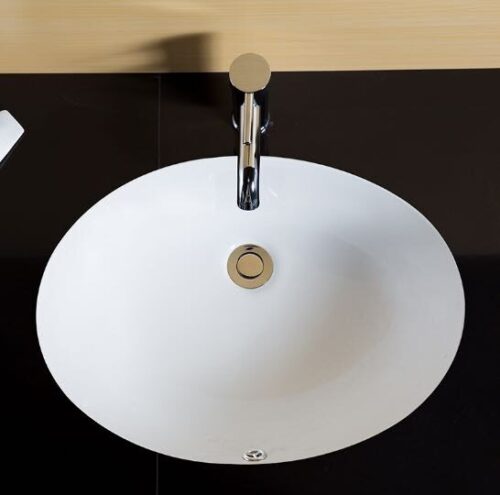 19.25" x 16" Undermount Oval Bathroom Sink with Overflow - (UO1714)
From $59.99
19.25" x 16" Undermount Oval Bathroom Sink with Overflow - (UO1714)
From $59.99
-
 20.5" x 15" Undermount Rectangle Bathroom Sink with Overflow - (USR1813)
From $79.99
20.5" x 15" Undermount Rectangle Bathroom Sink with Overflow - (USR1813)
From $79.99
-
 32" Modern + Industrial Stainless Steel Kitchen Sink (R6040R)
$329.99
32" Modern + Industrial Stainless Steel Kitchen Sink (R6040R)
$329.99
-
 32-3/8″ x 18″ Stainless Steel Undermount Double Equal Bowl 16 Gauge Kitchen Sink - (R5050R)
From $334.99
32-3/8″ x 18″ Stainless Steel Undermount Double Equal Bowl 16 Gauge Kitchen Sink - (R5050R)
From $334.99
-
 18.25" x 13.5" Undermount Rectangle Bathroom Sink with Overflow - (USR1611)
From $75.00
18.25" x 13.5" Undermount Rectangle Bathroom Sink with Overflow - (USR1611)
From $75.00
-
 31-1/2" x 18" Modern + Industrial 16 Gauge Stainless Steel Undermount Single Bowl Kitchen Sink 1/2" Radius - (R100R)
From $279.99
31-1/2" x 18" Modern + Industrial 16 Gauge Stainless Steel Undermount Single Bowl Kitchen Sink 1/2" Radius - (R100R)
From $279.99
-
 STONETECH® Stainless Steel Pro Cleaner
Original price was: $24.99.$12.99Current price is: $12.99.
STONETECH® Stainless Steel Pro Cleaner
Original price was: $24.99.$12.99Current price is: $12.99.
-
 Stainless Steel Basin Racks for R5050R
$65.00
Stainless Steel Basin Racks for R5050R
$65.00
-
 Stainless Steel Basin Rack for D28 | TMD30
From $65.00
Stainless Steel Basin Rack for D28 | TMD30
From $65.00
-
 Stainless Steel Basin Rack for R21
$65.00
Stainless Steel Basin Rack for R21
$65.00
-
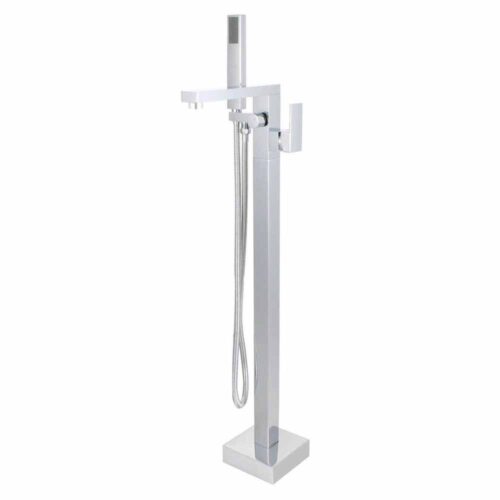 Modern Floor Mounted Tub Filler with Hand Shower and Hose - Rough-in Valve Included TF100-BN - BRUSHED NICKEL
Original price was: $449.99.$350.00Current price is: $350.00.
Modern Floor Mounted Tub Filler with Hand Shower and Hose - Rough-in Valve Included TF100-BN - BRUSHED NICKEL
Original price was: $449.99.$350.00Current price is: $350.00.
-
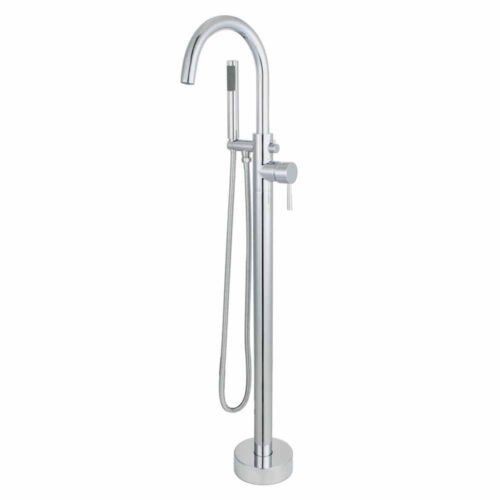 Timeless Floor Mounted Tub Filler with Hand Shower and Hose - Rough-in Valve Included TF200-BN - BRUSHED NICKEL
Original price was: $449.99.$350.00Current price is: $350.00.
Timeless Floor Mounted Tub Filler with Hand Shower and Hose - Rough-in Valve Included TF200-BN - BRUSHED NICKEL
Original price was: $449.99.$350.00Current price is: $350.00.
-
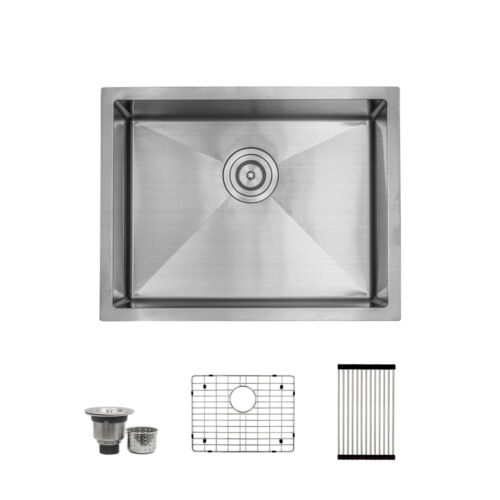 23″ x 18″ x 9” Stainless Steel Undermount Single Bowl Kitchen Sink with Off-Center Drain - (R21R)
From $190.00
23″ x 18″ x 9” Stainless Steel Undermount Single Bowl Kitchen Sink with Off-Center Drain - (R21R)
From $190.00
-
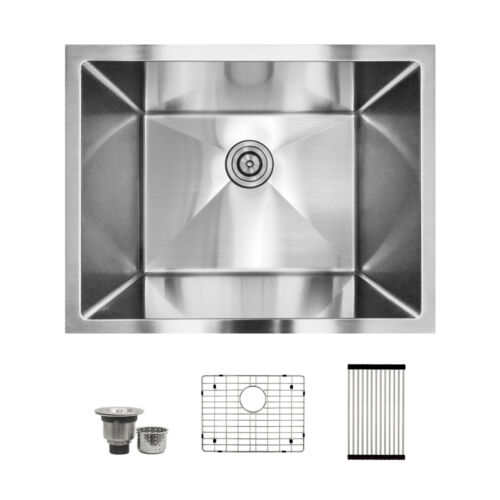 23″ x 18″ x 12” Stainless Steel Undermount Single Bowl Laundry Sink with Off-Center Drain - (R21L)
From $300.00
23″ x 18″ x 12” Stainless Steel Undermount Single Bowl Laundry Sink with Off-Center Drain - (R21L)
From $300.00
-
 ADA Compliant 32" x 19" x 5-1/2" Stainless Steel Undermount Single Bowl Kitchen Sink with Off-Center Drain – (R101R-ADA)
From $259.99
ADA Compliant 32" x 19" x 5-1/2" Stainless Steel Undermount Single Bowl Kitchen Sink with Off-Center Drain – (R101R-ADA)
From $259.99
-
 30” Workstation Stainless Steel Farmhouse Apron Kitchen Sink - (SA3021WS-SS)
$399.99
30” Workstation Stainless Steel Farmhouse Apron Kitchen Sink - (SA3021WS-SS)
$399.99
-
 Porcelain Vessel Sink - (V100)
$99.99
Porcelain Vessel Sink - (V100)
$99.99
-
 Porcelain Vessel Sink - (V300)
$119.99
Porcelain Vessel Sink - (V300)
$119.99
-
 Porcelain Vessel Sink - (V500)
$109.00
Porcelain Vessel Sink - (V500)
$109.00
-
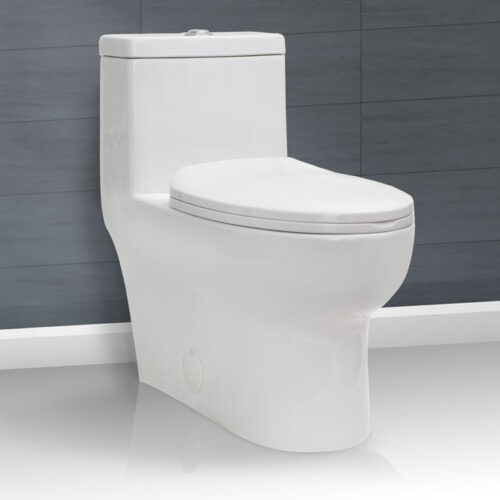 Gloss White Porcelain Toilet – Dual Flush 1.28 GPF, One-Piece, Elongated - (T300)
$359.99
Gloss White Porcelain Toilet – Dual Flush 1.28 GPF, One-Piece, Elongated - (T300)
$359.99
-
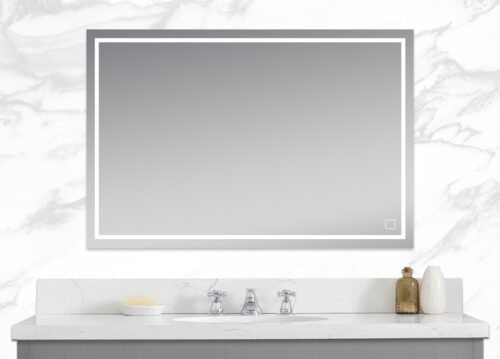
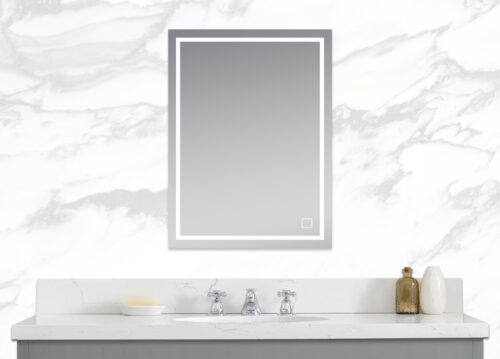 24'' x 32" RECTANGULAR LED MIRROR (Touch Sense) LED2432
Original price was: $299.99.$179.99Current price is: $179.99.
24'' x 32" RECTANGULAR LED MIRROR (Touch Sense) LED2432
Original price was: $299.99.$179.99Current price is: $179.99.
-
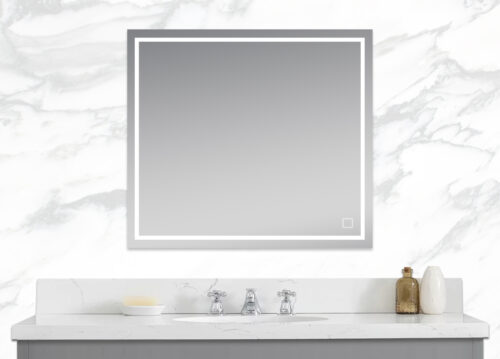 36'' x 32" RECTANGULAR LED MIRROR (Touch Sense) LED3632
Original price was: $399.99.$299.99Current price is: $299.99.
36'' x 32" RECTANGULAR LED MIRROR (Touch Sense) LED3632
Original price was: $399.99.$299.99Current price is: $299.99.
-
 48'' x 32" RECTANGULAR LED MIRROR (Touch Sense) LED4832
Original price was: $499.99.$399.99Current price is: $399.99.
48'' x 32" RECTANGULAR LED MIRROR (Touch Sense) LED4832
Original price was: $499.99.$399.99Current price is: $399.99.
-
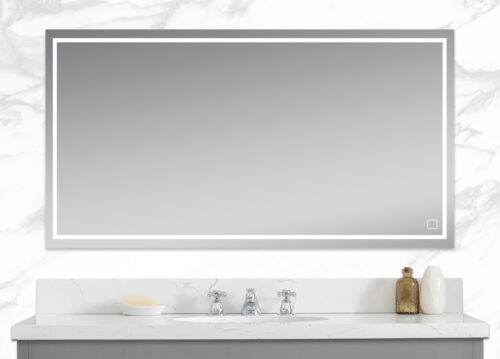 60'' x 32" RECTANGULAR LED MIRROR (Touch Sense) LED6032
Original price was: $799.99.$599.99Current price is: $599.99.
60'' x 32" RECTANGULAR LED MIRROR (Touch Sense) LED6032
Original price was: $799.99.$599.99Current price is: $599.99.
-
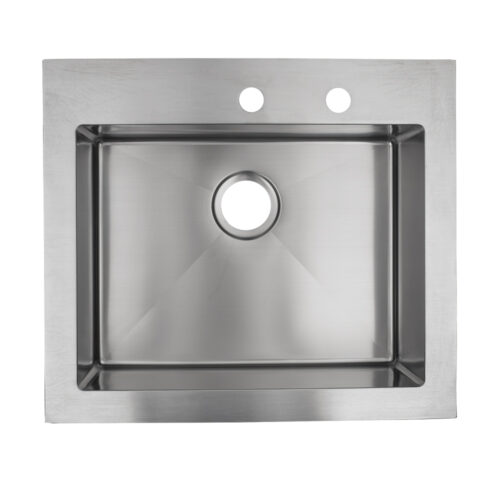 25" x 22" x 9" Stainless Steel Dual Mount Single Bowl 16 Gauge Kitchen Sink with Off-Center Drain - (TMR2522)
$219.99
25" x 22" x 9" Stainless Steel Dual Mount Single Bowl 16 Gauge Kitchen Sink with Off-Center Drain - (TMR2522)
$219.99
-
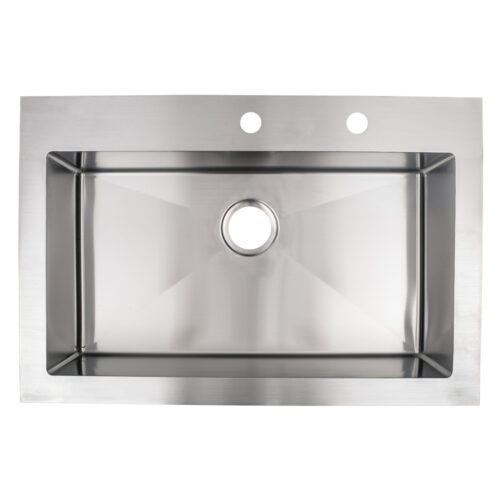 33" x 22" x 9" Stainless Steel Dual Mount Single Bowl 16 Gauge Kitchen Sink with Off-Center Drain - (TMR100)
$339.99
33" x 22" x 9" Stainless Steel Dual Mount Single Bowl 16 Gauge Kitchen Sink with Off-Center Drain - (TMR100)
$339.99
-
 33" x 22" x 9" Stainless Steel Dual Mount Double Bowl 16 Gauge Kitchen Sink with Off-Center Drains - (TMR5050)
$339.99
33" x 22" x 9" Stainless Steel Dual Mount Double Bowl 16 Gauge Kitchen Sink with Off-Center Drains - (TMR5050)
$339.99
-
 36” Workstation Stainless Steel Farmhouse Apron Kitchen Sink - (SA3621WS)
$599.99
36” Workstation Stainless Steel Farmhouse Apron Kitchen Sink - (SA3621WS)
$599.99
-
36” Stainless Steel Workstation Double Bowl Apron Kitchen Sink - (SA36215050WS-SS)
$599.99
-
 33” x 22" x 9" Stainless Steel Single Bowl Apron Kitchen Sink - (SA3322)
From $349.99
33” x 22" x 9" Stainless Steel Single Bowl Apron Kitchen Sink - (SA3322)
From $349.99
-
 35-3/8" x 22-1/4" x 10" Stainless Steel Farmhouse Apron Single Bowl Kitchen Sink - (SA3621)
$479.99
35-3/8" x 22-1/4" x 10" Stainless Steel Farmhouse Apron Single Bowl Kitchen Sink - (SA3621)
$479.99
-
 Stainless Steel Basin Rack for R100S-SS
$65.00
Stainless Steel Basin Rack for R100S-SS
$65.00
-
 Gold Basin Rack for R100S-G
$65.00
Gold Basin Rack for R100S-G
$65.00
-
 Copper Basin Rack for R100S-C
$65.00
Copper Basin Rack for R100S-C
$65.00
-
 Black Basin Rack for R100S-BLK
$65.00
Black Basin Rack for R100S-BLK
$65.00
-
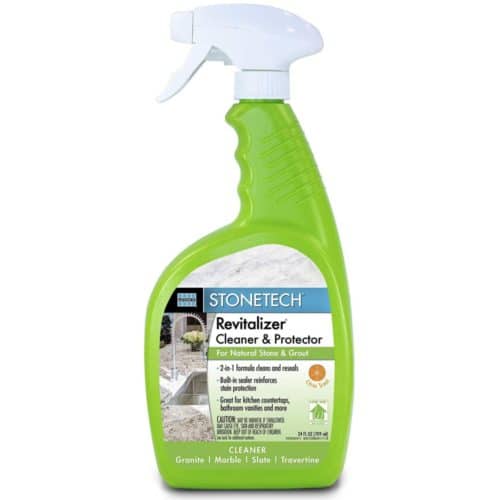 STONETECH Revitalizer® Stone Cleaner & Protector Citrus / 24oz / 1 GAL
From $19.99
STONETECH Revitalizer® Stone Cleaner & Protector Citrus / 24oz / 1 GAL
From $19.99
-
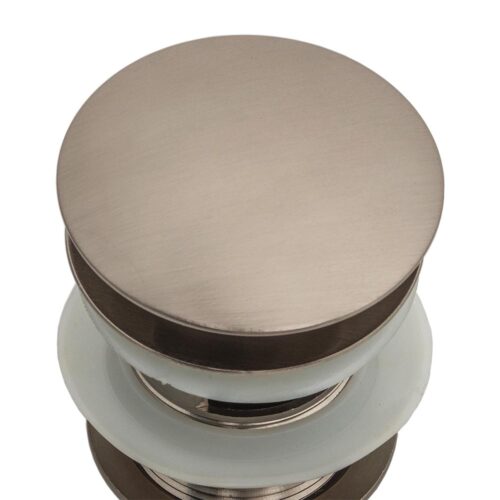 Brushed Nickel Bathroom Sink Pop-Up Drain PUD-BN
From $32.50
Brushed Nickel Bathroom Sink Pop-Up Drain PUD-BN
From $32.50
-
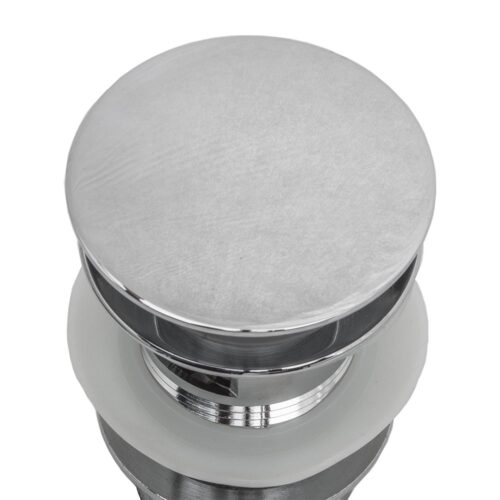 Polished Chrome Bathroom Sink Pop-Up Drain PUD-CH
From $32.50
Polished Chrome Bathroom Sink Pop-Up Drain PUD-CH
From $32.50
-
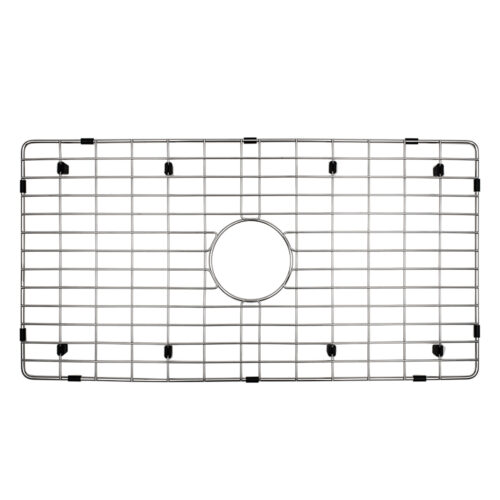 28-1/4" x 15" x 1" Stainless Steel Sink Rack for R100 | FCD3219 | FA3320WS
From $65.00
28-1/4" x 15" x 1" Stainless Steel Sink Rack for R100 | FCD3219 | FA3320WS
From $65.00
-
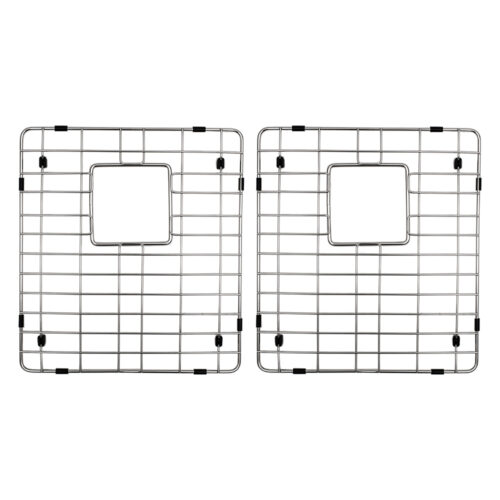 Stainless Steel Sink Racks for R5050S-SS
$65.00
Stainless Steel Sink Racks for R5050S-SS
$65.00
-
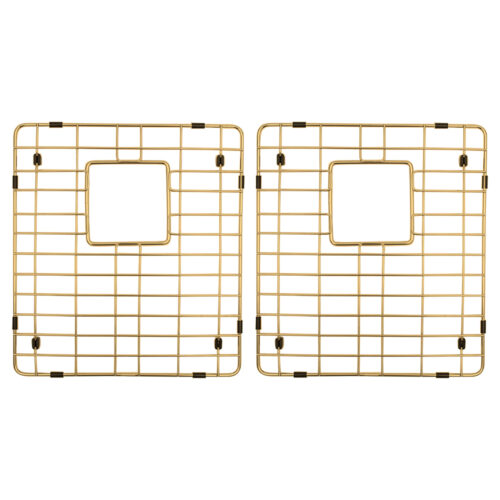 Gold Sink Racks for R5050S-G
$65.00
Gold Sink Racks for R5050S-G
$65.00
-
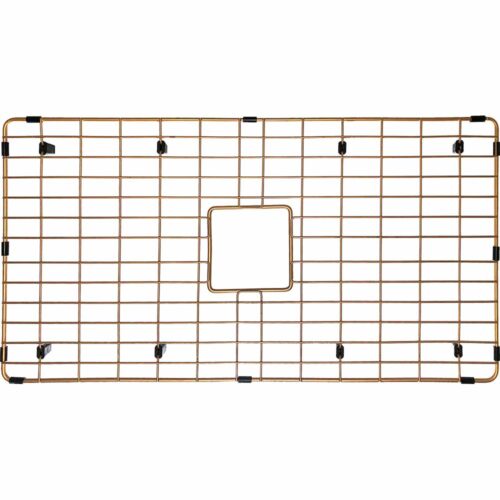
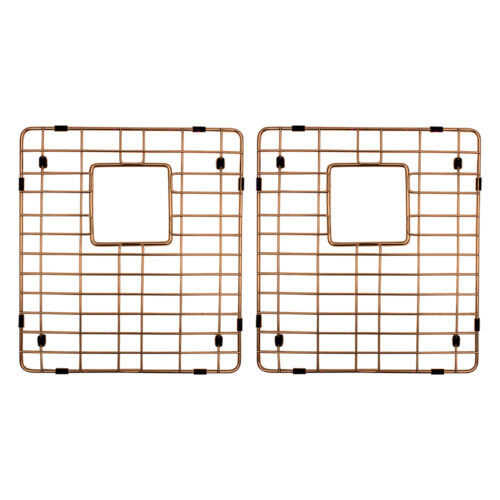 Copper Sink Racks for R5050S-C
$65.00
Copper Sink Racks for R5050S-C
$65.00
-
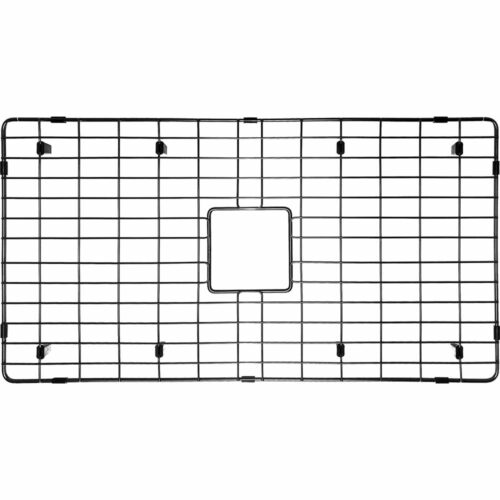
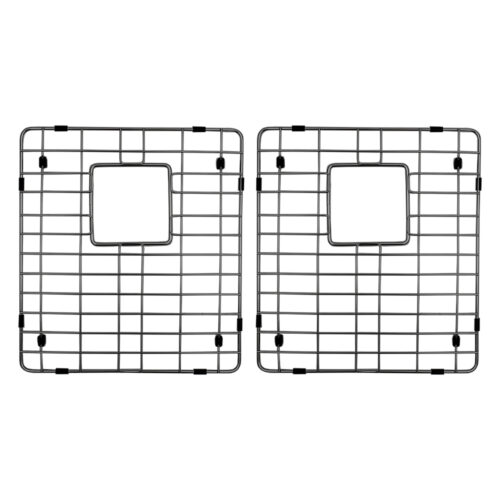 Black Sink Racks for R5050S-BLK
$65.00
Black Sink Racks for R5050S-BLK
$65.00
-
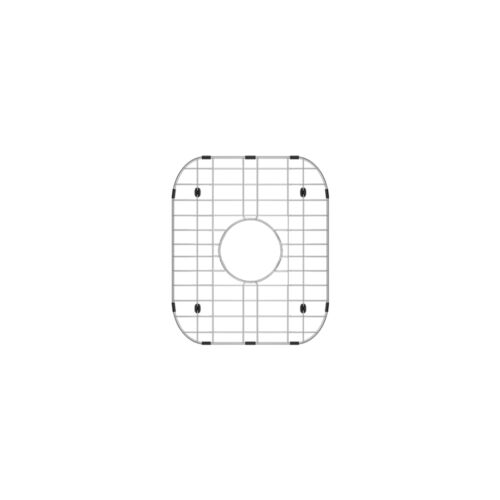 9-1/8" x 11-3/4" x 1" Stainless Steel Sink Grid for D15
$65.00
9-1/8" x 11-3/4" x 1" Stainless Steel Sink Grid for D15
$65.00
-
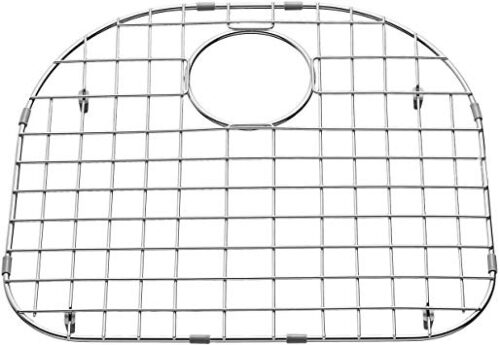 Stainless Steel Sink Grid for D21-D (D-Bowl)
$65.00
Stainless Steel Sink Grid for D21-D (D-Bowl)
$65.00